Bulk Inventory Transfers for BOMs and Work Orders
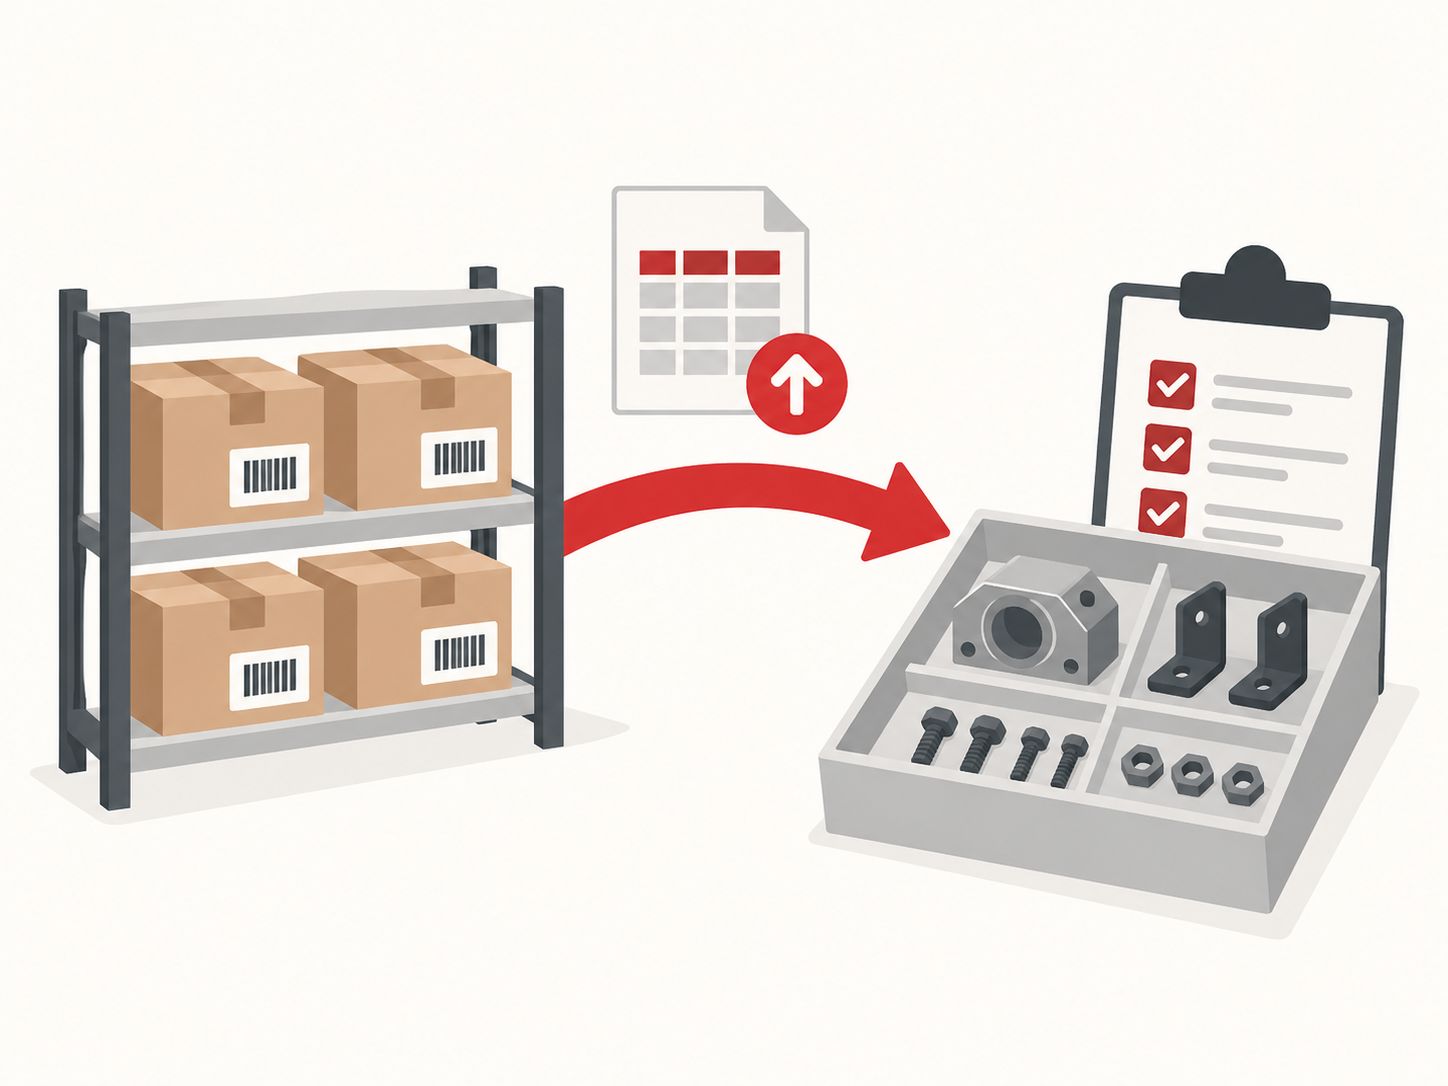
GearChain’s Bulk Import lets you create an inventory transfer for multiple products using a CSV with two columns: Barcode and Quantity. Review the items, send the transfer, and have the receiving team accept it before the destination inventory updates.
That workflow helps when a production team needs components for a build, a technician needs parts for a repair, or a store needs replenishment. Instead of entering every transfer quantity individually, prepare the list once and import it together.
Watch bulk asset transfer in action
How to transfer inventory in bulk
- Choose the locations. Open Transfer and select Create Transfer. Choose your origin and destination forms. Use matching form structures; you can duplicate an existing form under Settings to reuse its layout.
- Prepare the CSV. Open Bulk Import and download the sample template. Enter each product’s barcode and the quantity you want to transfer.
- Import and review. Upload the file and click Import products. Check the selected items, transfer quantities, and projected stock levels at both locations.
- Send the transfer. When everything looks correct, click Send. The transfer is marked as in transit while it awaits acceptance.
- Confirm receipt. The receiving team opens Transfer, then Receive, and selects View Detail. After verifying the products and quantities, they click Accept.
The CSV import prepares your transfer list. The receiving team’s acceptance completes the handoff and updates the destination inventory.
Stage BOM components for a production run
A bill of materials (BOM) lists the components and quantities needed to make a finished product. Bulk inventory transfer helps move those components from storage to the team or area handling assembly.
Suppose you’re building ten units, each requiring one housing, two brackets, and four fasteners. Your transfer CSV would list ten housings, twenty brackets, and forty fasteners, with the corresponding barcode for each component.
Choose a destination form representing the assembly area or production batch. The receiving team can verify that the required quantities have arrived before work begins.
This helps organize parts into a kit for production. After assembly, record component consumption and finished-goods quantities as separate steps in your production workflow.
Allocate parts to a work order
For work order inventory management, a destination form can represent a specific job, maintenance team, or service location.
A repair job, for example, might require bearings, seals, and replacement bolts. Prepare the quantities in a CSV and transfer the parts to a form named for that job. The assigned inventory stays visible separately from central stock.
Preparing parts in advance also gives the receiving team a list to check before work starts. Use clear job names and assign responsibility for confirming receipt so each transfer is easy to match to its work order.
Other practical uses for bulk transfers
- Service van restocking: Transfer a standard list of spare parts from the warehouse to a technician’s van inventory.
- Warehouse-to-store replenishment: Import a store’s replenishment list and have the store team confirm receipt.
- Construction site supplies: Send fasteners, fittings, and other materials to a form representing a project or site.
Each use case follows the same workflow: select the stock, specify the quantities, and confirm receipt at the destination.
Review stock and transaction history
After acceptance, open the destination’s Assets list to verify the received inventory. With Google Sheets integration configured, you can also check the connected spreadsheet.

Enter email to get Free Google Sheets Template
We’ll email you a quick verification link. Click it to confirm your address and your template will open automatically.
Enter email to get Free Excel Template
We’ll email you a quick verification link. Click it to confirm your address and your template will open automatically.